Sooner or later, in the quest for good results, the question of clench nails comes up. It is completely traditional, it is a really good job mechanically, and often looks so much better than screw or bolt fixes, but how best to achieve it? How to avoid ripping or bruising the woodwork on the clench side? How to get the nail to pull tight? How not to split the timber when you are fixing close to an edge?…….
-
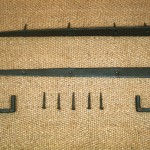
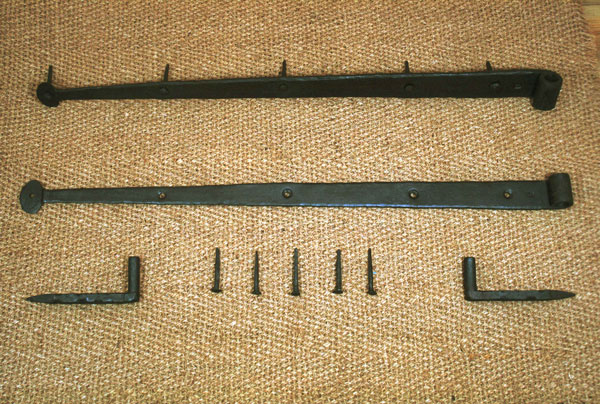
- straps with nails and pintles
-
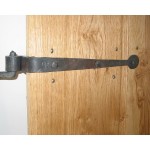
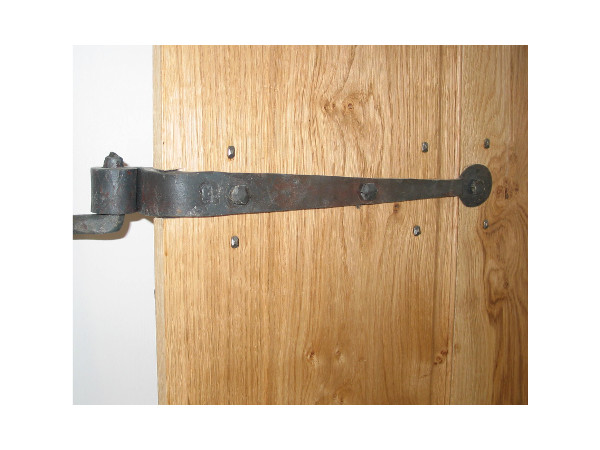
- cranked strap on face
The obvious answer to these questions is essentially very simple; be careful, be thoughtful.
However that seems like a bit of a cop out so it may also be of benefit to run through one way of doing the job; this is using the nails that I make and I suppose one could say that this is how they are designed to be used; (other makers of nails may intend their nails to be used differently).
Equipment needed; hammer, drill, large sledge hammer or similar heavy lump of metal to act as a ‘dolly’ or anvil for the clenching operation, lump of wood to act as wooden ‘dolly’ when driving the nail through to begin with.
My nails have a flat taper running from just before the nail exits the timber to the sharp tip (this is why I wish to know the thickness of the timber when you order). You need to predrill the timber at an interference fit; the degree of interference depends upon the timber that you are using and how close you are to an edge; the safest is probably to do a couple of dry runs first in either the same timber or something as close to it as you can find but I would suggest, on my own experience, that you only need to be a millimetre or so undersized on a 6mm nail. In an ideal situation I would suggest that the predrilled hole stops just short of breaking through so that the last 5mm or so is either undrilled or piloted only at the thickness of the taper.
In the interest of mechanical strength I favour an approach where the nail is oriented so that the flat of the clench end runs with the grain of the wood over which it will be clenched. Drive the nail in until it appears on the other side, allowing the point of the nail to come through by between 5 and 10 mm – how far depends upon what you want the clench to look like finally. (To avoid it splitting the timber it can help to hold the wooden ‘dolly’ firmly against the point at which the nail will exit while you are driving it through.) It is, however perfectly possible to clench the nail along the grain and, in some circumstances this may be preferable, although it this then probably better to use square, rather than flat tapered, shanks.
Bend the tip of the nail over; this doesn’t need to be a sharp bend at this stage. Then, holding a steel dolly firmly on to the bent tip, drive the nail home from the other side with a series of medium blows. This is usually a two man operation, though with lighter nails it can be done quite successfully by one person. The difficulties encountered are largely to do with the physical difficulties around holding the dolly in the right place and with the right pressure. A bit of trial and error will bring you to an appropriate technique in this regard.
-
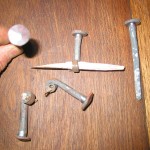
- clench nails clenched

Just for the sake of example the nails in the photo have been clenched by simply driving them through the timber at a slight angle on to the anvil in the workshop; see how they have curled round into a neat scroll in the timber thus creating a really definite fix – you wouldn’t pull them out in a hurry!